Technical Methods for Account Discovery

Disclaimer: I picked up this PayPal tip from a video posted by Mishaal Khan who is an OSINT professional and trainer.
PayPal
Sometimes, during an investigation, we find ourselves with an email address or phone number, but what we are missing is the name and profile photo to go with it. The following instructions can help you locate a possible full name for the individual who owns the email address that you have.
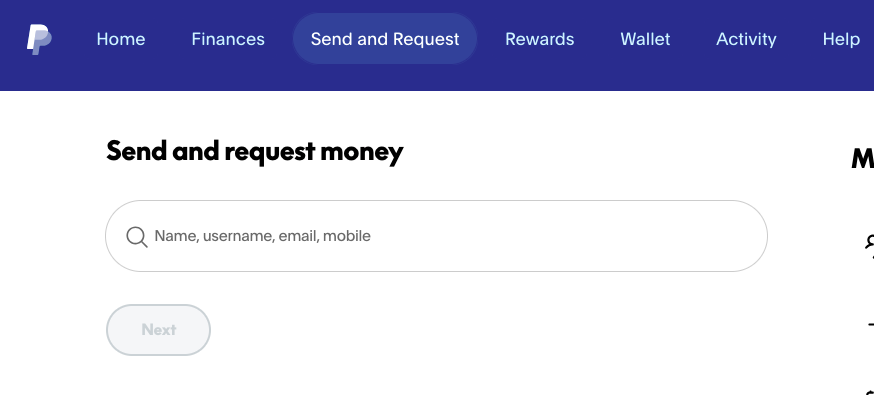
Payment Request Lookup (Semi-Passive): Log into a sock puppet PayPal account. Navigate to the "Send Money" or "Request Money" section and enter the subject's email or phone number.
- The "Hit": If an account exists, PayPal often displays the subject's full name and profile photo to help the sender "verify" the recipient.
- OPSEC Note: Do not actually send a request or payment, as this generates a notification. Simply viewing the preview screen is generally safe, but ensure your sock puppet has no identifying info.
- Automated Enrichment Tools: Tools like Epieos or OSINT Industries use "selector enrichment" to check if an email or phone number is registered with dozens of services, including PayPal, without you having to visit the site manually.
Note: Be aware that as of September 2023, PayPal introduced stricter search privacy settings. If a subject has opted out of being "searchable," the "Send Money" preview method will not return a result even if the account exists. So, if you don't get a hit, it doesn't mean that they don't have an account.
CashApp
If you are researching a phone number, and want to check to see of that number is associated with a CashApp account, you can do using "Contact Exploitation".
Phase 1: Preparation (The Clean Environment)
To ensure the research is isolated and does not link back to your personal identity, you must use a "clean" setup.
- Burner Device: Use a factory-reset smartphone. Do not sign in with your personal Apple ID or Google Account.
- Network: Connect to a public Wi-Fi or a VPN. Avoid your home network.
- Account Setup: * Create a new Cash App account using a dedicated burner email or a secondary VOIP number.
- Do not link your personal bank account or debit card if the goal is purely research.
Phase 2: Contact Loading
The app identifies targets by scanning the device’s local address book.
- Add the Target: Open the burner phone's "Contacts" app and create a new entry.
- Enter the target's phone number or email address.
- Give them a generic name (e.g., "Research Subject 1").
- Permissions: Open Cash App and navigate to the "Friends" or "Invite" section. When prompted, Grant Permission for the app to access your contacts.
Phase 3: The Research Process
Once synced, Cash App will cross-reference the contacts on your phone with its user database.
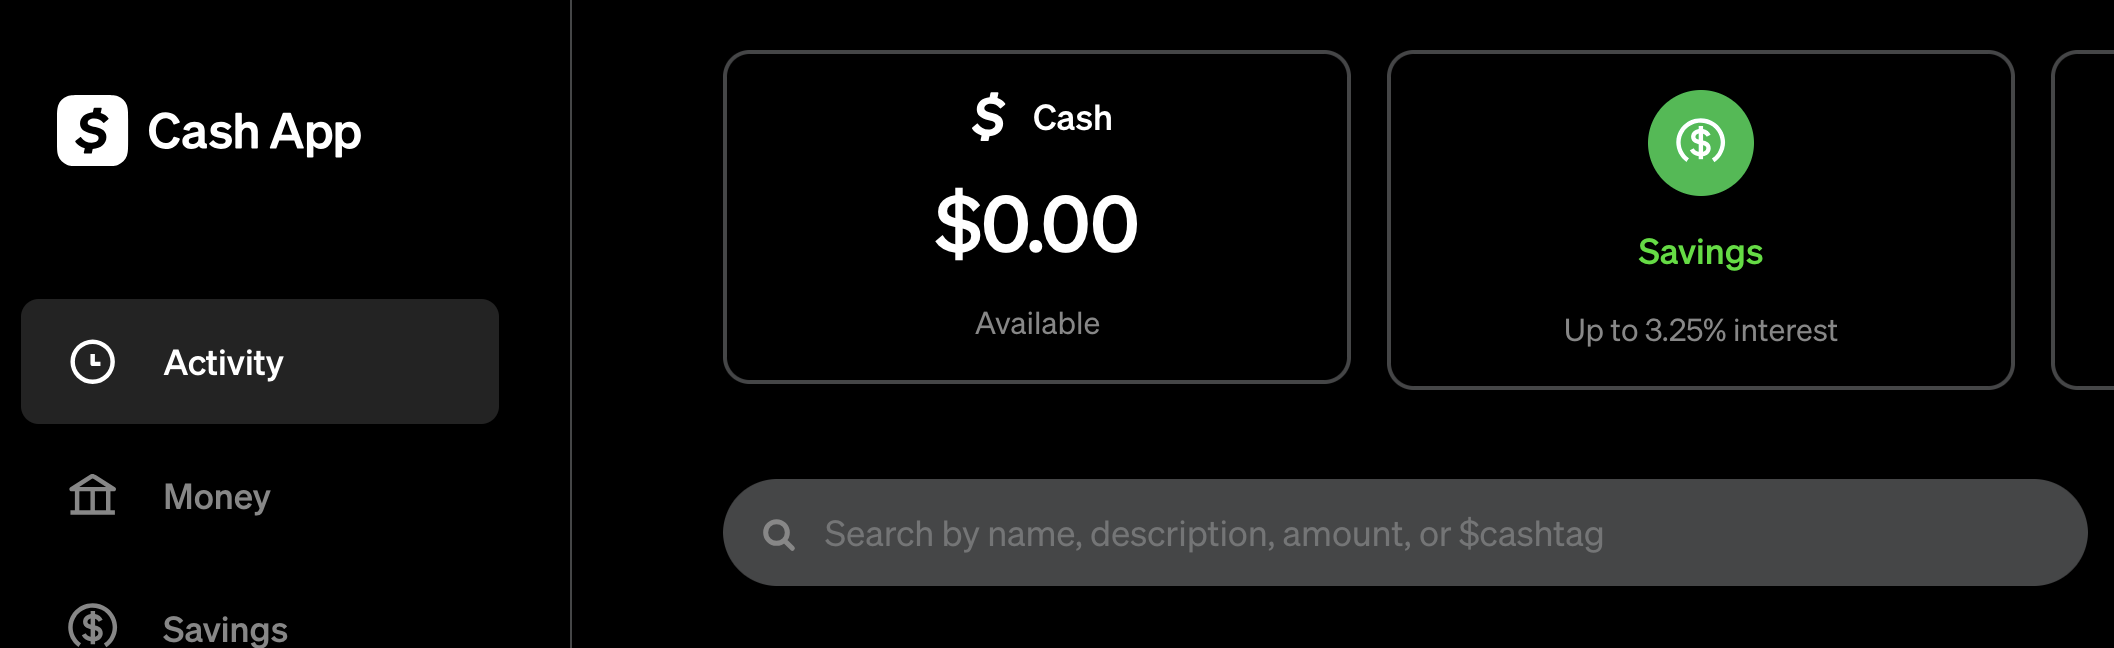
- The Search Bar: Tap the pay/send icon (the $ sign) and type the name you gave the contact in your phone.
- Identifying the Match:
- If the target has an account, their $Cashtag and Profile Name will appear.
- Note: Many users use their real names on Cash App to ensure they receive money correctly, making this an effective verification tool.
- The Profile View: Tap the profile to see if they have a profile picture or any "Verified" badges. You can see this information without actually sending a payment.
Security and Ethical Considerations
- No Notification: Simply seeing a contact in the "Suggested" list or searching for them does not notify the target.
- Privacy Settings: If the target has disabled "Contact Sync" in their own privacy settings, they will not appear in your results even if you have their number.
- Burner Integrity: Ensure the burner phone does not have other apps (like Facebook or Instagram) that might try to "suggest" you to the target based on shared contact lists.